To our valued clients,
Currently here at RGautoaccessories we are practicing safe COVID 19 regulations with staff distancing and with internet sales at there highest level this can and does result in longer production times (on made to order items) and delays in dispatch items in stock from our various suppliers. Rest assured we’re doing everything possible to keep our team and you safe and following all recommendations as they come. Your support means everything to us, and helps us protect our staff’s employment and allows us to continue to support a number of other Aussie Businesses just like ours. Currently all products are being made to order as demand outstrips stock and this has meant longer delivery times and some inconvenience for which we apologies. Thank you for your purchases and your patience, we will have them with you as quickly as possible. Tracking details can be found in your account as soon as your items are dispatched and you will receive an email confirming dispatch and tracking details.
Thank you for your patience during these difficult times.
Here you will find various fitting instructions and advice to help you to get the best from your Sandgrabba Mats, Trap Mats, Dash Mats, Loop and Plush Pile Carpets, PVC Vinyl Flooring and all car, commercial and 4wd interior floor mats from the No Bull Brand. Please follow these instructions and advice carefully and you will find that the fitting of your new products is a breeze.
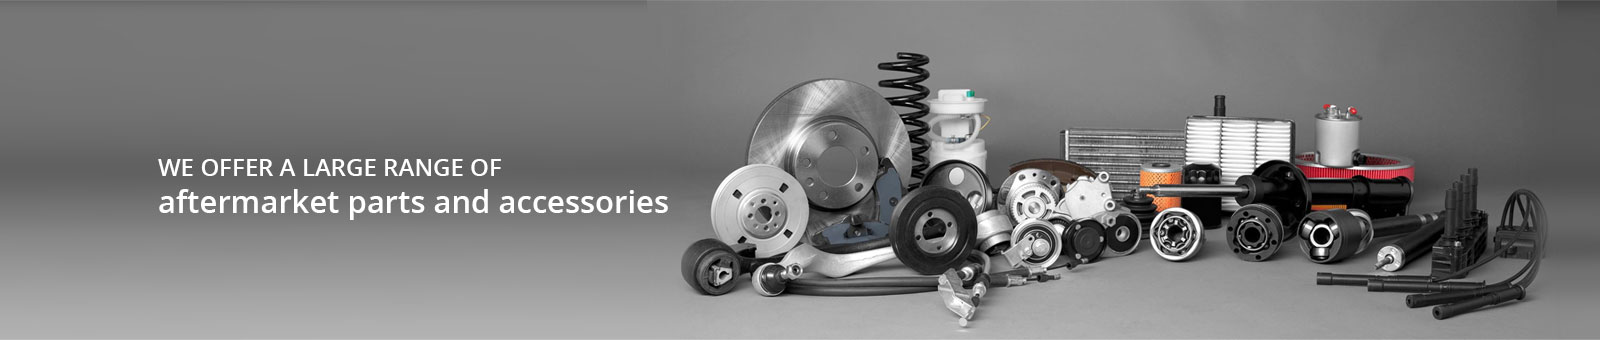
OLD SCHOOL CAR ACCESSORIES AND REPLACEMENT PARTS:
All accessories and replacement parts from Headlights , Tail lights , Rubber seals etc. These can be fitted by you the consumer if you have some knowledge of remove and refit. Otherwise WE STRONGLY RECOMMEND getting your local panel beater , professional aftermarket installer etc to do this for you.
SANDGRABBA MATS:
Designed for a DIY Install your Sandgrabbas have a unique fastening system that uses two clips designed to fit under the left- and right-hand scuff plates of your vehicle. These are clipped to the mats from the factory and the first step is to remove these from the mats and secure under the scuff plates. Next step is to slide back the front seats and position the Sandgrabba Mats to the shape of the floor pan making sure that they are in the correct position then slide the clips along the sill plates to line up with the fastening position on the Sandgrabbas. Push firmly down on the clips until they are clipped together and then slide the front seats forward to ensure they slide forward without any obstruction. Repeat the installation for the rear mats and if these are supplied as two-piece mats, finally using the Velcro on the mats secure the mats firmly together. Your mats are now correctly installed and ready to protect your vehicle.
TRAP MATS:
Designed for a DIY Install your Trap Mats have a unique fastening system that uses two clips designed to fit under the left- and right-hand scuff plates of your vehicle. These are clipped to the mats from the factory and the first step is to remove these from the mats and secure under the scuff plates. Next step is to slide back the front seats and position the Trap Mats to the shape of the floor pan making sure that they are in the correct position then slide the clips along the sill plates to line up with the fastening position on the Trap Mats. Push firmly down on the clips until they are clipped together and then slide the front seats forward to ensure they slide forward without any obstruction. Repeat the installation for the rear mats and if these are supplied as two-piece mats, finally using the Velcro on the mats secure the mats firmly together. Your mats are now correctly installed and ready to protect your vehicle.
SUNGRABBA DASH MATS:
Moulded to the exact shape of the dash of the vehicle your new Dash Mat is supplied with Velcro Tabs from the factory. The first step to a successful installation is to ensure that the dash is completely free of any dust or grime and that where you plan to attach the self-adhesive Velcro tabs is completely free of any protective coatings such as Armor All or similar as this, if not removed, it will make it difficult to secure the velcro tabs.The next step is to position the tabs to secure the mat and remove the protective tape from the tabs and attach them to the surface of the dash. Once this is completed join the Velcro tabs together, the protective tape remaining on the top of each tab. Now position your Dash Mat into the correct position on the dash being careful to line up all vents including the demister vents closest to the windscreen. Once you are happy with the positioning carefully lift the left hand side of the mat to approximately one third of its length and remove the protective tape from the Velcro tabs exposing the adhesive surface of each tab. Lower the dash mat carefully ensuring it has not moved out of position and then press down firmly on each of the tabs to allow the adhesive to attach to the underside of the Dash Mat. Now working from the right-hand side carefully lift the Dash Mat to expose the remaining tabs. Remove the protective tape as before then carefully put the Dash Mat down again ensuring that it hasn’t moved. Push down on all tabs to allow the adhesive to attach to the underside of the Dash Mat and to secure your mat is in position. Your Dash Mat is now successfully installed and ready to protect your dash from harmful UV Sunlight.
LOOP AND PLUSH PILE CARPETS:
Please note that there are no holes cut in the carpet for the gear shift, seats or belts. These are not recommended for DIY install and we advise customers to engage the services of a qualified Motor Trimmer Upholsterer to ensure a professional fit. For those who want to tackle the task as a DIY the following details some of the important steps to follow however it should be noted that our Carpet will vary slightly from the originals. If you intend to use your old carpet as a template to cut any holes, wait until you have fitted the carpet completely and trimmed as it is then that both carpets will be a better match.
Basic installation instructions:
Please note with such a large range of vehicles catered for these instructions are a general guide only.
Subscribe to our newsletter: